
Step-by-step setup for a branded smile simulator page, how to add the button on each website platform, where to place it so patients use it, and how to track what it produces.
Most practices that want a smile simulator assume it means a developer, a plugin, a redesign, or a vendor contract with a setup fee. That assumption is why the simulator stays on the someday list while the website keeps asking visitors to call. The practice is right that embedding software into a dental website is a project. It is wrong that a simulator has to be embedded.
The simplest way to add one is a hosted page in the practice's branding and a single button on the website that links to it. No code goes on the site, nothing breaks when the website theme updates, and the person who adds the button is whoever already edits the site, which in most practices is the office manager. The guide to why an implant practice website needs a smile simulator covers what it does for bookings. This guide covers the setup.
It walks through creating the branded page, adding the button on WordPress, Wix, Squarespace, Webflow, Duda, and any other platform, where to put the button so patients use it, and how to know whether it is producing consults.
What do you need before you start?
Your practice name, an email address, your website address, and the booking link or phone number you want patients to use after they see their preview. A logo file is optional. The whole setup takes about a minute, and it does not require a developer or anyone with access to the website's code. It requires one person who can add a button or a menu link to the site, which is the same skill as adding a page.
How do you set up the branded simulator page?
On the Dental Implant Directory setup page, enter the practice details, start free, and the page builds itself in about a minute.
- Open the [smile simulator setup page](/smile-simulator-for-dentists) and enter your practice name, your email, and your website address. The email is used only to tell you when your free previews run out.
- Upload your logo if you have the file handy. If you skip it, the logo, colors, and fonts are pulled from your website.
- Add a booking page link, a phone number, or both. After a patient sees their preview, they get a button for each one you provide.
- Click Start free. Your branded page appears on the same screen, at its own address, within about a minute.
- Check the branding. If a color or font came through wrong, adjust it on the same screen before you add the button to your site.
What "branded" means
The page carries your logo, your colors, and your fonts, with your practice name in the heading and your booking button at the end. It does not carry Dental Implant Directory's header, menu, or colors. A small line at the bottom of the page credits the simulator provider, the way a form tool or a booking tool credits itself. Patients experience the page as part of your practice.
How do you add the button in WordPress?
With the block editor, open the page where the button belongs, add a Buttons block, type the label, and paste your simulator page address as the link. "See Your New Smile" is the label that works, because it names the result rather than the tool. If you use a page builder such as Elementor or Divi, drag in a button widget and set its link the same way.
To put the button in the main menu so it appears on every page, go to the menu editor under Appearance, or the Navigation block in the site editor on newer themes, and add a custom link with the same address and label. No plugin is needed for either placement.
How do you add the button in Wix?
In the Wix Editor, click Add Elements, choose Button, and place it on the page. Click the button, open its link settings, choose Web address, and paste your simulator page address. Set it to open in a new tab if you want the visitor to keep your site open behind it.
To add it to the header so it shows on every page, place the button inside the header strip rather than on a single page. To add it to the menu, open Pages and Menu and add a link item with the same address.
How do you add the button in Squarespace, Webflow, or Duda?
In Squarespace, edit the page, add a Button block, set the text, and paste the address. The site header has its own button setting in site styles, which is the best spot for a sitewide placement. In Webflow, drag in a Button element, set its link to the external address, and publish. In Duda, add a Button widget from the widget panel and set its link.
On any other platform, the rule is the same: anywhere you can add a link, you can add this button. A plain text link in the navigation works if the platform does not offer a button style. The address is what matters, not the styling.
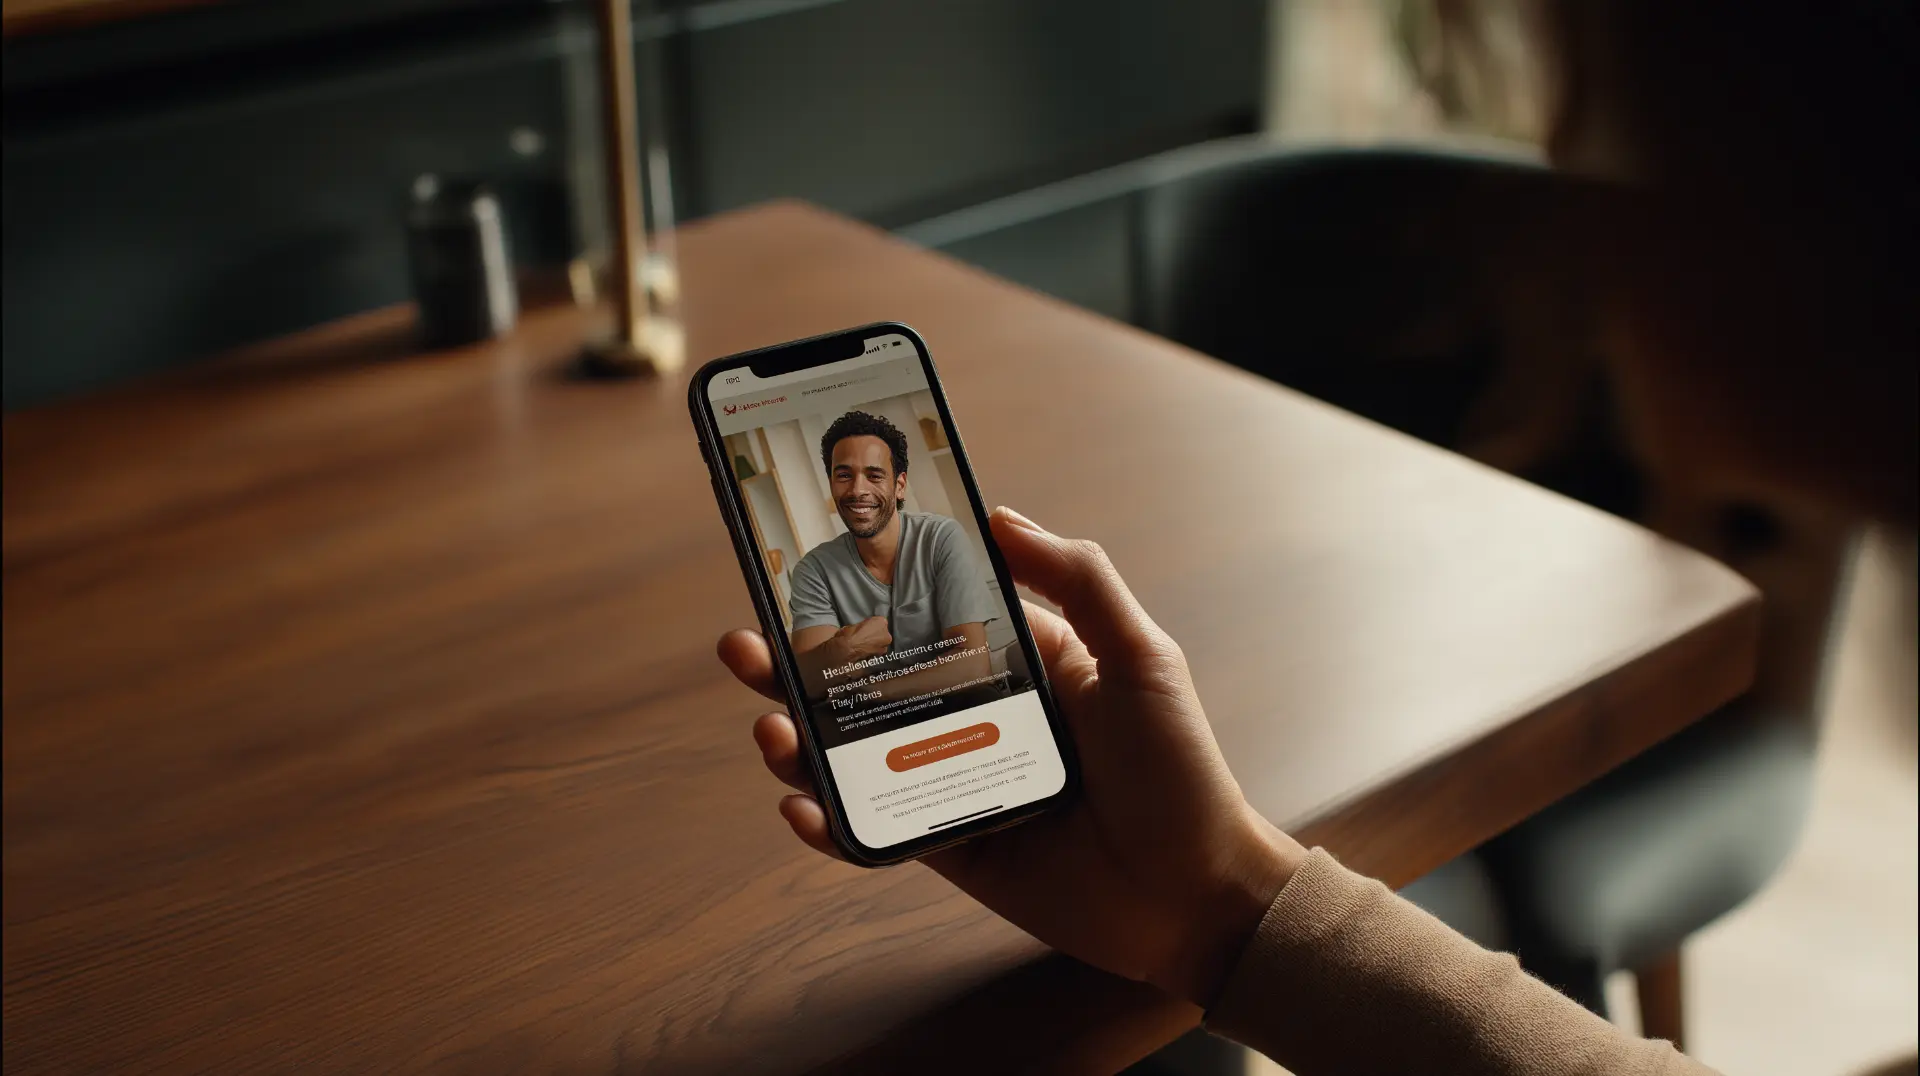
Where should the button go so patients use it?
Everywhere a prospective patient is deciding, which is more places than the home page. A button that lives only on the home page is seen by visitors who arrive there and by no one who lands on a service page from a search.
- In the main navigation, so it appears on every page of the site.
- Near the top of the dental implants and All-on-4 service pages, where a patient comparing providers is already reading.
- Under the hero on the full-arch landing page that paid ads send traffic to. The [guide to the full-arch landing page that converts](/grow-your-practice/blog/full-arch-landing-page-that-converts) covers why the above-the-fold area decides the page.
- As a Google Business Profile post, since a share of patients read the profile and never visit the site.
- In the email signature of everyone who talks to patients, and in the second or third message of the [post-consult follow-up sequence](/grow-your-practice/blog/post-consult-follow-up-sequence), where a quiet patient can be sent their own preview link.
- In social profiles and in the landing destination for any social campaign, where the [social media guide](/grow-your-practice/blog/social-media-marketing-for-dental-implant-practices) notes that an interactive next step outperforms a phone number.
How do you know it is working?
By tracking the bookings it produces, not the previews it runs. Previews are the top of the funnel. Bookings are the number that connects to revenue, and the guide to what a full-arch case costs to acquire explains why cost per case is the only figure that should decide whether a channel stays.
Three habits make the simulator measurable. First, put a tracking parameter on the booking link you give the simulator, so bookings that come through it show up separately in your analytics and your booking software. Second, add "smile simulator" to the how-did-you-hear options on the intake form and the front desk's call log. Third, have the coordinator ask every new full-arch consult whether they used it. Patients remember, because it was their own face.
What happens when the free previews run out?
You get an email with a link to add your own Google AI key, and nothing on your website needs to change. After that, Google bills your account directly at about 7 cents per preview. Each visitor can run three previews a day and your page is capped at 50 a day, and you can set a monthly limit on the key in Google if you want a hard ceiling. The email includes the steps for creating the key, which takes a few minutes and no technical background.

What should you check after it is live?
Open the page on a phone, because that is where most patients will use it. Run a preview with your own photo, confirm the booking button goes to the right place, and confirm the phone button dials the right number. Click the button from your website's navigation and from the implants page to make sure both links work. Then tell the front desk and the treatment coordinator that it exists, what it does, and that patients who mention it are warm inquiries, so the first call starts from the preview rather than from a price question.
The Bottom Line
Adding a smile simulator is a one-minute setup and one button, not a development project. Create the branded page, add a "See Your New Smile" button to the navigation and the implant service pages on whatever platform runs your site, put the same link in your Google Business Profile and your follow-up messages, and track bookings from it like any other channel. And when you are ready, set up your free smile simulator.
Get found by implant patients
Join the directory and start receiving qualified inquiries in your area. Plans start at $19.99/month.
Explore Listing Plans